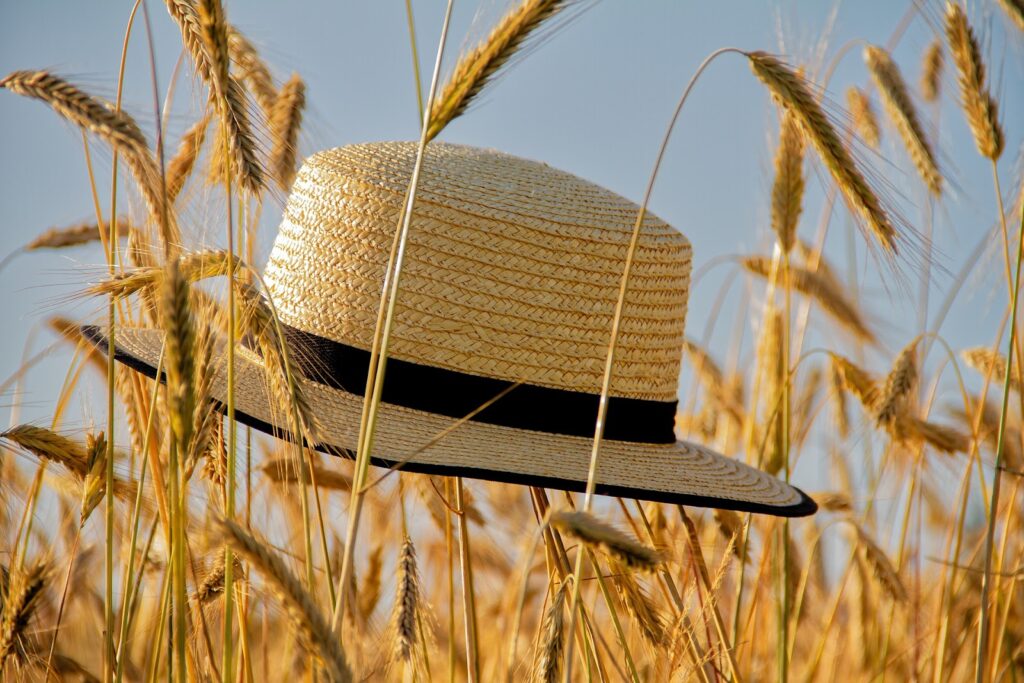

Loose and deformed straw hats can be a big disappointment, especially if they ruin your everyday look. They’re supposed to be timeless accessories that can complement almost any clothing, necklace, and more.
Sadly, straw hats aren’t spared from damage over time. They can loosen and deform since their fibers are malleable.
So we’re here to tell you how to tighten your straw hat.
It may seem challenging, especially if you haven’t tried it before. But reading our six-step guide can help you regain your favorite hat’s shape in no time.
6 Steps to Tighten Your Straw Hat
Tightening your straw hat isn’t as challenging as you think it is. In reality, you can regain its tightness and shape within a few minutes or hours in just six simple steps:
6 Steps to Tighten Your Straw Hat
These instructions are straightforward and can be done by almost anyone with a straw hat. So let’s take a closer look at each step below:
Step 1. Wet your straw hat
Every straw hat owner has been warned to keep their hats hydrated to prevent cracking in the future. Without enough moisture, its fibers can loosen and get deformed.
That’s why spraying water lightly over your straw hat is the first step to tightening it. Make sure you’re spraying moisture evenly to keep it pliable all around. This step also prevents damages that could occur anywhere in the procedure.
Step 2. Steam your straw hat.
We can’t stress how important hydration is to keep your straw hat malleable throughout the tightening process. So after wetting it, you would need to apply steam gently over it.
There are several ways to perform gentle steaming on your straw hat. The most common methods involve a steamer or an iron. But you can also use the steam from a pot of boiling water.
For this step, we highly urge you to steam the brim of your hat first, then the inside of its crown. Make sure you’re also at least six to eight inches away from it to prevent damage and burns.
Step 3. Adjust the shape of your straw hat.
After ensuring the wetness of your straw hat, look for any deformities since the next step will involve adjusting it back to its original shape.
When adjusting the shape of your straw hat, you must constantly mold it using your fingers. Try to pull its fibers apart throughout the process.
You can also use a bowl, folded towel, or any circular object to reshape your hat’s crown. Then, place the item inside the crown for it to follow its shape.
Step 4. Air dry your straw hat.
Place your straw hat in a cool and dry environment after reshaping it. Avoid extreme conditions like putting your hat directly under the sun because this can damage its fibers more.
Step 5. Check your straw hat’s shape.
Check your straw hat regularly. Then, once it’s dry, wear it and double-check its tightness and shape.
If you still haven’t achieved your desired shape, you must repeat the steps above. You need to apply moisture to your hat by lightly wetting it and steaming it for the second time. Reshape your hat after.
Don’t worry because repeating the steps above is normal for the tightening process. Straw hat owners have to go through it a couple of times, depending on the looseness and deformities of their hats.
Step 6. Protect your straw hat.
If you’re satisfied with your straw hat’s tightness and shape, make sure to take care of it from now on. Doing simple preventive steps can ensure its fresh condition over time.
For instance, you can store your hat in a cool and dry place when not in use. You can also constantly hydrate its straw fibers by damping a wet towel or baby wipes. Lightly spraying water all around it can also keep its malleability.
Conclusion
No matter how nice straw hats look, they can loosen and deform over time. But you can regain its original shape and style with just a few simple steps.
Yet the best way to take care of your straw hat is to store it properly and keep it hydrated over time. These are two easy methods to ensure your hat’s pristine condition through the years.
Frequently Asked Questions (FAQs)
Here are some answers to your frequently asked questions about tightening a straw hat:
1. Is this six-step guide to tightening a straw hat applicable to all kinds of straw hats?
Yes, our six-step guide applies to all kinds of straw hats—Fedora, Panama, and many more. This guide outlines the general steps for tightening hats and regaining their original shape and look.
2. Can too much moisture damage my straw hat?
Yes, too much water can damage your straw hat. It can cause its fibers to swell, deform, and rot over time. So we only recommend applying water and steam to your hat lightly and gently.
3. Why should I tighten my straw hat?
There are several benefits to tightening your straw hat. On one side, the right fit will protect your head from the sun. This lowers your chances of having heat stroke from high temperatures, especially in the summer. Besides this, a straw hat with the perfect shape and tightness can add personality to your outfit. It can act as a simple yet fashionable accessory to your everyday look.


